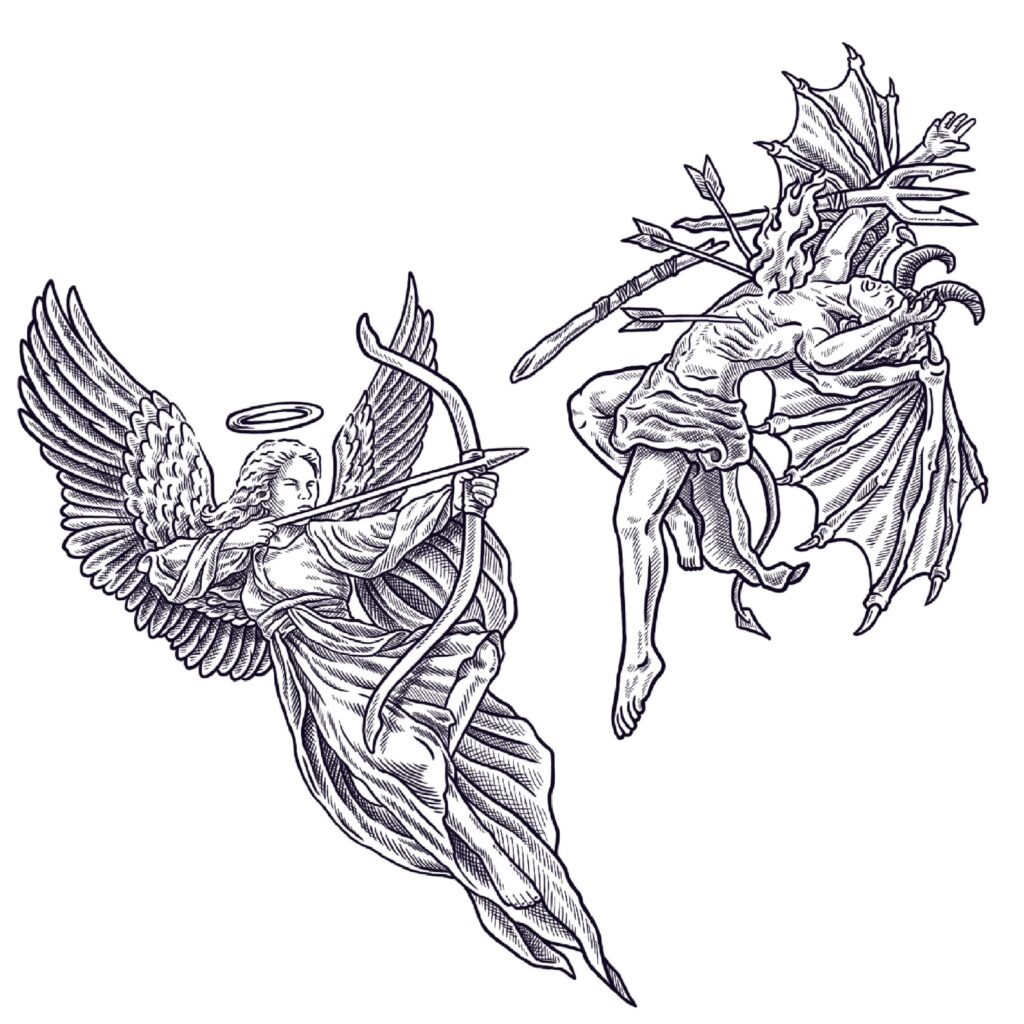
Tattoo design holds a powerful visual impact. From bold line work to fine shading, tattoos capture emotion, identity, and creativity on skin. But what if you could bring that same artistry to textiles? Whether you’re crafting a unique T-shirt line, designing home décor, or producing wearable art, transferring tattoo-style designs onto fabric offers a fresh and edgy twist that stands out in a crowded market.
Discover how to vectorize tattoo designs for textile prints step by step. You’ll learn why vectorization is essential, how to maintain the soul of the art, and, most importantly, how to take action from concept to completion. Keep reading, because the next section outlines a straightforward method you can apply right now.

Why Vectorization Matters for Tattoo Art
Tattoo designs often begin as sketches or intricate ink work. While these formats look stunning in their original form, they don’t translate well onto fabric without proper preparation. That’s where vectorization comes in. By converting a bitmap or hand-drawn artwork into clean, scalable vector tracing service paths, you’re ensuring clarity and printability.
Vectors eliminate blur and pixelation, letting you scale a design for anything from a tiny pocket logo to a full-sleeve textile mural. If you skip this stage, you’ll risk losing line crispness or fine details when adapting for different print sizes. What’s more, a well-vectorized tattoo design gives textile printers the precise outlines they need to produce consistent, high-quality output.
The Vectorization Workflow
Let’s explore a structured workflow you can start using today:
First, digitize your original tattoo sketch by scanning at high resolution. Then bring that scan into a vector software environment. Trace the outlines and recreate fill areas manually or with semi-automatic tools. Consider each layer of shading and line weight carefully, because those subtleties define the tattoo-like quality of your final print.
Be sure to check edge integrity, smooth curves, and line consistency before moving on. Once the core black outlines are done, convert shading or gray tones into halftone gradients, dots, or layered fills that mimic tattoo shading. Finally, export clean vector formats like EPS or PDF, ready for textile printing. If possible, test print a small design to see how lines and densities render on actual fabric before full production.
Retaining Tattoo Aesthetic in Print
Tattoos have organic flow lines vary in weight, shading blends into skin tone, and small flourishes bring them to life. When vectorizing, replicate those subtleties rather than flatten them. Make use of smooth Bézier curves instead of jagged edges. Vary line thickness to reflect the natural motion of the original art. Use layered fills or stippling effects to evoke depth.
This approach ensures the final textile print retains the emotional nuance of the tattoo design, rather than becoming a mechanical reproduction. You want your audience to feel the artistry, not just see a printed image.
Choosing the Right Software Tools
Your choice of vector software influences how quickly and accurately you can vectorize tattoo art. Adobe Illustrator remains the industry standard, offering powerful pen tools, smooth control of paths, and halftone effects. If you’re looking for a more budget-friendly alternative, Inkscape delivers capable open-source tools with pen and node adjustments.
Beyond software, investing in a quality graphics tablet can change everything. Drawing directly into your vector program gives you the freedom of hand control while maintaining crisp digital output. If a tablet feels beyond your budget, draw by hand, scan at high resolution, and trace digitally with a mouse it’s slower, but the results speak through consistency and care.
Color Application and Print Readiness
Once your vector is finalized, it’s time to prepare the design for the printing process. Are you printing with screen printing, direct-to-garment, sublimation, or heat transfer vinyl? Each method has unique requirements. You may need to separate colors, simplify color gradients, or adjust artwork for halftone screens.
For direct-to-garment printing, my experience has shown that limiting color range to under eight inks yields cleaner results on cotton blends. When printing via sublimation, focus on CMYK-ready vectors. If using vinyl, outline and remove internal cuts so the vinyl plotter can process the design efficiently. Before committing to a full batch, always run a sample print to confirm color matching and line sharpness on the chosen fabric.
Handling Complex Tattoo Design Elements
Intricate tattoo designs, such as detailed skulls, florals, or script, can be challenging to reduce to vector form without losing their essence. Start by analyzing the most important areas: line weight, focal shading zones, and structural flow. Break the design into separate layers one for key outlines, another for fill and shading, and a third for accent lines.
Work section by section. Vectorize major outlines first for structural integrity, then build shading or fills on top. Use opacity masks or pattern fills to mimic gradients. Group components logically inside the software, so you can manage visibility and edit areas separately. Later, merge or flatten layers depending on your print needs. Taking this methodical approach ensures you don’t accidentally simplify away critical visual complexity.
From Design to Fabric: The Testing Phase
After exporting your vectorized tattoo design as an EPS, PDF, or AI file, it’s crucial to test it with your chosen printing partner or equipment. Evaluate edge fidelity do the lines stay sharp? Check color transitions does shading become muddy or grainy? Assess text readability if any script is included.
When I vectorized a client’s intricate mandala tattoo to print on silk scarves, the first run showed uneven halftones. On examining the file, I realized the halftone resolution was too coarse. I adjusted dot density, re-exported the file, and re-tested, achieving crisp results after the second attempt.
This test-print step is non-negotiable when transforming tattoo art for fabric. It reveals small issues that can make a big difference in perceived quality. Imagine rolling out a full run only to find your prints appear flat or jagged addressing these challenges early saves time, cost, and frustration.
Licensing and Copyright Considerations
Tattoo designs often involve personal art that’s copyrighted or trademarked. Before using someone else’s design for textiles you plan to sell, ensure you have the proper rights. That might involve working directly with the tattoo artist or the wearer to obtain explicit usage agreements.
If you’re selling tattoo-inspired clothing online, clarify ownership in your product listings or contracts. Make sure to credit original artists appropriately and avoid replicating distinctive, artist-identified styles without permission. Vectorizing itself is legal if you own the original design, but selling reproductions without permission may expose you to legal risk.
Scaling Tattoo Designs for Different Products
One of the benefits of vectorizing tattoo art is scalability from a small pocket emblem to a large banner tote. But scaling requires adjustments. Smaller versions may need simplified line detail or thicker lines to remain legible. Larger prints benefit from added texture or detail layers for visual interest. Always scale proportionally and check readability at your minimum and maximum product sizes.
If you’re planning a product line say T-shirts, hoodies, and tote bags prepare separate files for each scale. Test prints at each size and tweak as needed. That extra effort ensures all products look sharp and brand-consistent.
Marketing Tattoo-Inspired Textile Lines
Vectorized tattoo prints give your products an edge in the marketplace. Use imagery that highlights texture and context a model wearing the T-shirt, close-ups of fabric grain, or detail shots of small-edition patches. Create content that tells the story: “This design originated as a custom tattoo, now transformed into wearable art.”
Offer limited edition runs to increase perceived value. Use social media campaigns that invite customers to submit their tattoo designs for vectorization this engages your audience and builds community. Provide easy-to-follow care instructions that mention color durability and line clarity after washing, reinforcing quality in your brand voice.
Common Pitfalls to Avoid
One of the biggest mistakes I’ve seen is skipping the testing step. Designers export vectors and assume fabric will translate visual fidelity. But real-world variables often interfere.
Another risk is overcomplicating shading. Tattoo art thrives on smooth tone transitions, but textile prints may require color stops or dot patterns instead. Flattening these areas manually can help the printer interpret shades accurately.
Also, make sure your vector files are clean avoid stray nodes, overlapping objects, or hidden layers. These can cause unexpected print artifacts or slow down RIP processes. A quick cleanup pass before sending to production goes a long way.
Continuous Improvement Through Feedback
After the first product run, collect customer feedback about line clarity, fading, and overall feel. Compare product performance across washes. Analyze whether fine details held up or softened. Use this data to refine future vectorizations.
If certain line weights consistently fade after a few washes, consider increasing thickness or switching to more durable inks or vinyl. If customers request more color vibrancy, adjust your export settings or explore alternate print methods. This cycle of feedback and refinement ensures your tattoo-inspired prints keep improving in quality.
Conclusion:
Bring Tattoo Art to Textiles with Confidence
Vectorizing tattoo design for textile prints bridges two vibrant creative worlds. With a thoughtful process from digital tracing to print testing you can transform deeply personal or artistically rich designs into wearable, sellable products. By choosing the right tools, respecting design rights, and embracing iterative feedback, you’re creating a unique brand offering that resonates.
Now it’s your turn: pick a tattoo design you love, vectorize it following the steps above, and test-print it on your favorite fabric. You’ll be amazed at how skin-rooted art finds new life on shirts, totes, and beyond.
Turn Your Tattoo or Logo into Art with USA Digitize
Bring your artwork to life with USA Digitize your trusted partner for high-quality vector art and embroidery digitizing services. Whether it’s a custom tattoo design, logo, or personal sketch, we transform it into flawless, print-ready or stitch-ready files. Enjoy fast turnaround, no upfront payments, and expert precision every time contact today.
Ready to stand out? Let USA Digitize turn your vision into wearable or printable reality today. Send your design and get a free preview now!


