
If you’ve ever wondered what those mysterious DST files for embroidery are that keep popping up in embroidery circles, you’re not alone. These little digital workhorses are the backbone of modern machine embroidery, and understanding them can make all the difference in your stitching projects.
Whether you’re a seasoned embroiderer or just getting started, DST files are something you’ll encounter sooner rather than later. They’re like the secret language that embroidery machines speak, turning digital designs into beautiful stitched artwork.
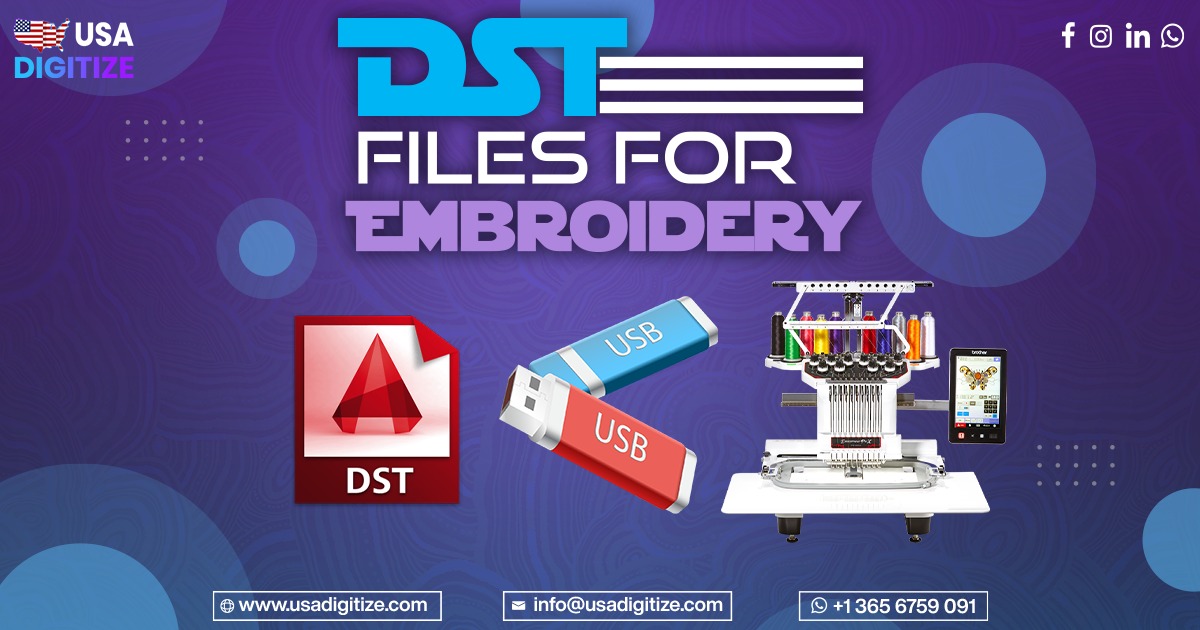
What Are DST Files in Embroidery?
DST files are embroidery data files that contain stitch information for computerized embroidery machines. The name comes from Tajima’s embroidery format, which has become one of the most widely used file formats in the industry. Think of them as instruction manuals that tell your embroidery machine exactly where to place each stitch, what color to use, and when to stop or start.
These files don’t actually contain images like you might expect. Instead, they’re packed with coordinate data, stitch types, and color change commands. It’s pretty fascinating when you think about it a simple file can transform into intricate embroidered designs right before your eyes.
The beauty of DST files lies in their compatibility. Most commercial embroidery machines can read them without any issues, making them the go-to choice for professional embroiderers and hobbyists alike. They’re like the universal language of machine embroidery.
How DST Files Work in Machine Embroidery
When you load a DST file into your embroidery machine, something pretty amazing happens. The machine reads the file line by line, interpreting each command as a specific instruction. It’s similar to how a GPS guides you turn by turn, except your machine is creating art instead of getting you to your destination.
The file tells the machine when to move the needle, when to change colors, and even when to trim threads. Every single stitch is predetermined and coded into the file. That’s why you can run the same DST file multiple times and get identical results the machine is following the exact same roadmap each time.
Modern embroidery machines have gotten incredibly sophisticated at reading these files. They can handle complex designs with thousands of stitches, multiple color changes, and intricate details that would take hours to complete by hand.
Creating DST Files: The Digitizing Process
Creating DST files isn’t something you can do with just any software. You need specialized professional embroidery digitizing USA programs that can convert artwork into stitch data. This process, called digitizing, requires both technical skill and artistic vision.
Professional digitizers spend years perfecting their craft. They need to understand how different fabrics behave, which stitch types work best for various elements, and how to optimize designs for different machine types. It’s part art, part science, and entirely essential for quality embroidery.
The digitizing process typically starts with artwork maybe a logo, design, or photograph. The digitizer then maps out stitch paths, selects appropriate stitch types, and sets up color sequences. They’re essentially translating visual art into a language that embroidery machines can understand.
Essential Software for Working with DST Files
You’ll need the right tools to work with DST files effectively. There are several software options available, ranging from basic viewers to professional-grade digitizing suites. Some popular choices include Wilcom, Pulse, and Brother’s PE-Design series.
Free options exist too, though they’re often more limited in functionality. Programs like Embird or SewWhat-Pro can handle basic editing tasks and file conversions. They’re great starting points if you’re just getting your feet wet with DST files.
Many embroidery machine manufacturers also provide their own software packages. These often work seamlessly with their specific machines and can be excellent choices for beginners. They usually include tutorials and templates to help you get started.
Opening and Editing DST Files
Opening DST files requires specialized software since they’re not standard image files. You can’t just double-click them and expect them to open in your regular photo viewer. Instead, you’ll need embroidery software that can interpret the stitch data and display it visually.
Once you’ve got the right software, opening DST files becomes straightforward. Most programs will show you a preview of how the design will look when stitched out. You can usually zoom in to see individual stitches, check stitch counts, and review color sequences.
Editing DST files can be tricky though. Unlike working with regular images, you’re dealing with stitch data that follows specific rules. Simple changes like resizing can affect stitch density and quality. More complex edits might require re-digitizing portions of the design.
Converting DST Files to Other Formats
Sometimes you’ll need to convert DST files to other embroidery formats or even to regular image files. This is where format conversion tools come in handy. Many embroidery software packages include conversion features that can translate between different file types.
Converting to other embroidery formats is usually straightforward. The software reads the stitch data and rewrites it in the new format. However, some machine-specific features might be lost in translation, so it’s always good to test converted files before using them for important projects.
Converting DST files to image formats is a different beast entirely. The software essentially simulates what the embroidered design would look like and creates an image representation. This can be useful for previewing designs or creating catalogs.
Best Practices for Managing DST Files
Organizing your DST files properly can save you tons of headaches down the road. Create a logical folder structure that makes sense to you maybe organize by project type, customer, or design category. Consistent naming conventions help too.
Always keep backup copies of your important DST files. They’re small files, so storage isn’t usually an issue, but losing a perfectly digitized design can be heartbreaking. Consider cloud storage options for extra peace of mind.
Documentation is your friend when working with DST files. Keep notes about thread colors, fabric recommendations, and any special instructions. Future you will thank present you for being thorough.
Common Issues with DST Files and Solutions
Like any digital file format, DST files can occasionally cause problems. One common issue is compatibility – sometimes files created on one system don’t play nicely with another. This usually happens when files contain machine-specific commands that other systems don’t recognize.
Corrupted files are another headache you might encounter. This can happen if files are transferred incorrectly or if storage media fails. Always verify that files open correctly after transferring them, and maintain good backup practices.
Size limitations can also be problematic. Some older embroidery machines have restrictions on design size or stitch count. If you’re working with large, complex designs, you might need to split them into smaller sections.
Quality Control for DST Files
Before sending a DST file to your embroidery machine, it’s smart to run through a quality checklist. Check the stitch count – unusually high numbers might indicate problems with the digitizing. Review the color sequence to make sure it makes sense for your project.
Simulating the embroidery process in software can catch potential issues before you waste time and materials. Most embroidery programs include simulation features that show you how the design will stitch out step by step.
Pay attention to stitch density too. Overly dense areas can cause puckering or thread breaks, while sparse areas might not provide adequate coverage. Good DST files strike the right balance for the intended fabric and thread combination.
Advanced DST File Techniques
Once you’re comfortable with basic DST file operations, you can explore more advanced techniques. Combining multiple DST files into larger compositions opens up creative possibilities. You can create complex layouts by positioning different designs strategically.
Custom color palettes can help you achieve specific looks or match brand requirements. Many software packages allow you to create and save custom thread color libraries that you can apply to different designs.
Vector tracing techniques can be incredibly useful when working with DST files, especially when you need to convert bitmap images into clean, scalable artwork that can be digitized effectively.
Industry Applications of DST Files
DST files are workhorses in commercial embroidery operations. From custom apparel shops to large-scale textile manufacturers, they’re the standard for transferring design information. Their reliability and compatibility make them perfect for production environments.
Corporate branding often relies heavily on DST files. Company logos digitized into DST format can be applied consistently across various products and materials. This ensures brand consistency while maintaining professional quality standards.
The fashion industry has embraced DST files for decorative embroidery on everything from haute couture to everyday clothing. The precision and repeatability of machine embroidery make it possible to add intricate details that would be impossible to achieve by hand.
Future of DST Files in Embroidery
Technology keeps advancing, and embroidery file formats are no exception. While DST files remain incredibly popular, newer formats are emerging that offer enhanced features like more color information and better compatibility with modern machines.
However, DST files aren’t going anywhere anytime soon. Their widespread adoption and proven reliability ensure they’ll remain relevant for years to come. Plus, the massive library of existing DST designs represents too much value to abandon.
Machine learning and artificial intelligence are starting to influence embroidery digitizing. We might see automated tools that can create better DST files with less human intervention. But for now, skilled digitizers remain essential for quality results.
Tips for Beginners Working with DST Files
If you’re new to DST files, start small. Begin with simple designs and gradually work your way up to more complex projects. This approach helps you understand how different elements translate into stitches without overwhelming yourself.
Don’t be afraid to experiment, but always test on scrap fabric first. DST files can behave differently on various materials, and what works on cotton might not work on leather or fleece. Testing saves both time and expensive materials.
Join online communities and forums where embroiderers share knowledge and troubleshoot problems together. The embroidery community is generally very helpful, and you’ll find answers to questions you didn’t even know you had.
Troubleshooting Common DST File Problems
When DST files don’t behave as expected, systematic troubleshooting usually reveals the culprit. Start by checking the basics is the file corrupted, are you using compatible software, and do you have the right machine settings?
Thread breaks during embroidery can often be traced back to issues in the DST file itself. Excessively long stitches, inappropriate stitch types, or poor path planning can all cause problems. Sometimes re-digitizing problematic areas is the best solution.
Design placement issues might stem from incorrect origin points in the DST file. Most embroidery software allows you to adjust these settings, but understanding how your specific machine interprets positioning data is crucial.
Conclusion
DST files are truly the backbone of modern machine embroidery. Understanding how they work, how to manage them properly, and how to troubleshoot common issues will make your embroidery journey much smoother and more enjoyable.
Whether you’re digitizing your own designs or working with files created by others, the principles remain the same. Quality DST files lead to beautiful embroidered results, while problematic files can cause frustration and waste materials.
As technology continues to evolve, DST files will likely evolve with it. But their fundamental purpose translating creative vision into precise stitch instructions will remain constant. Master the basics, stay curious about new developments, and don’t hesitate to experiment with different approaches.
Remember, working with DST files is both a technical skill and an art form. The more you practice and learn, the better your results will become. So dive in, start stitching, and enjoy the incredible world of machine embroidery that DST files make possible.